Why this matters
App Store review is a gate you do not control, with a queue you do not control. Submitting early, and correctly, protects your launch date. First submissions can be rejected for predictable, avoidable reasons, and every rejection costs you time.
What "done" looks like
- The build uploaded via App Store Connect and passing automated checks
- Listing complete: name, subtitle, description, keywords, screenshots for required sizes
- Privacy questionnaire answered accurately, with a privacy policy URL
- A demo account provided for reviewers if your app requires login
- Status: "Waiting for Review" or better
How to do it
- Prepare the account early. Apple Developer enrollment ($99/yr) can take days for a company.
- Write the listing for humans: the first sentence of the description sells the outcome; screenshots show real UI with captions.
- Answer privacy honestly, declare every SDK's data collection; mismatches with reality are a rejection magnet.
- Pre-check the classic rejection causes: broken links, placeholder content, login without a demo account, crashes on launch, mentioning other platforms.
- Submit, then monitor App Store Connect; typical review is 1 to 3 days. If rejected, fix exactly what is cited, reply politely, resubmit.
Common mistakes
- Submitting the night before your announced launch date
- Screenshots that are marketing art with no actual UI
- Forgetting the reviewer demo account, an instant metadata rejection
Real-world examples
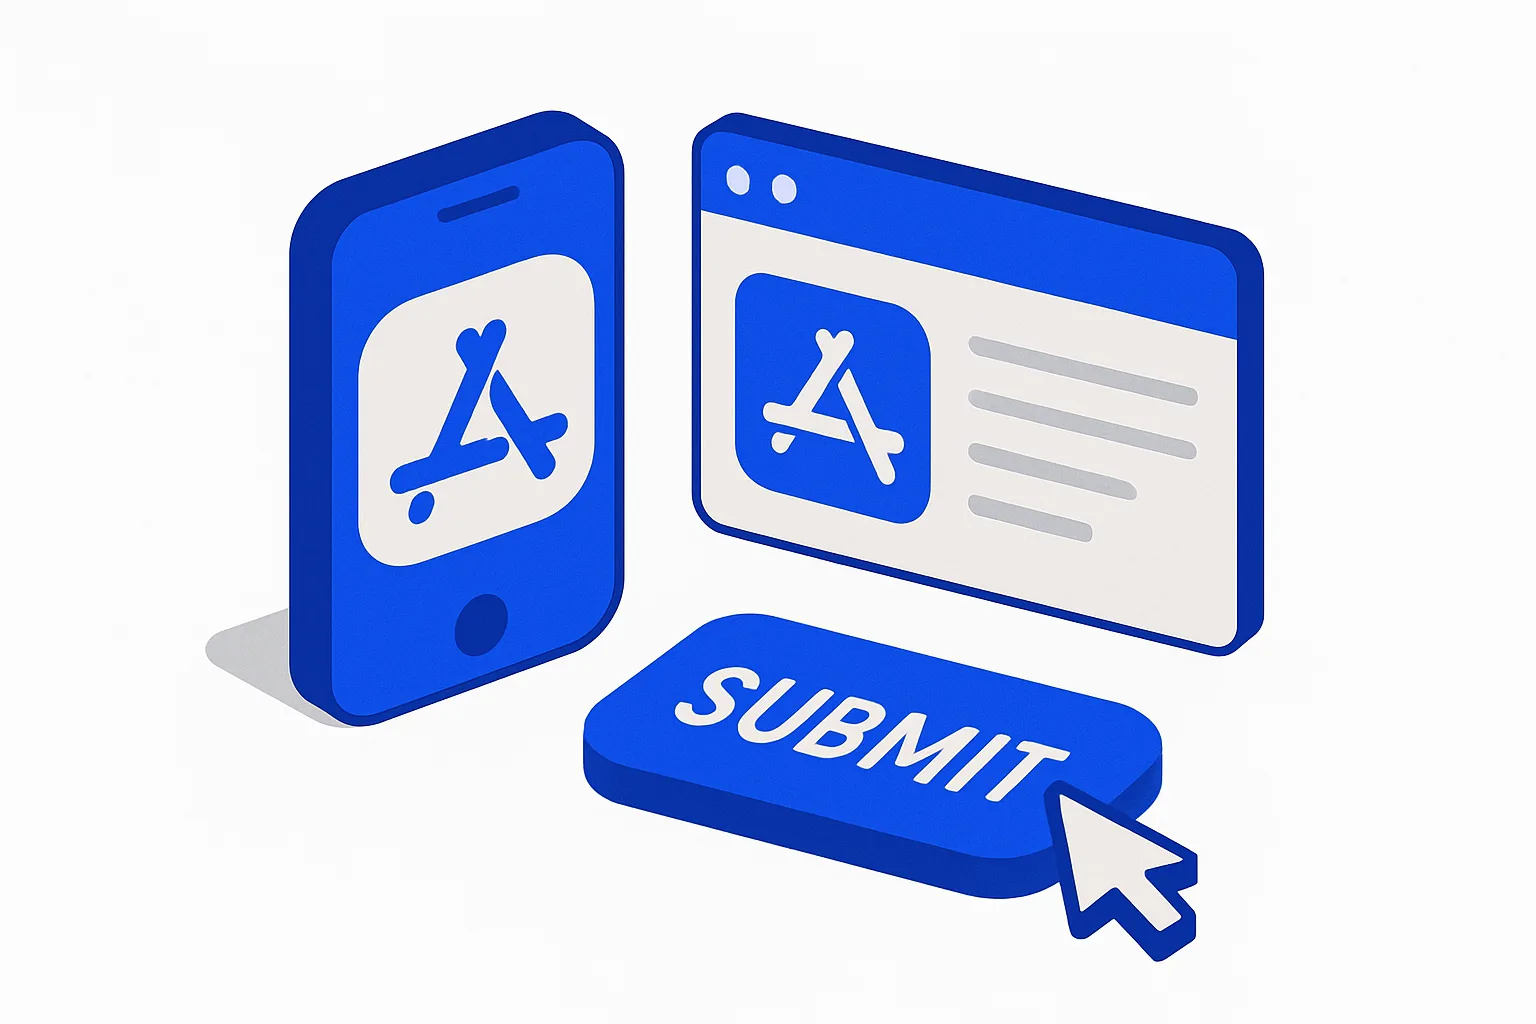
- Apple's App Store Connect is the single console where you upload your build, screenshots, and metadata, set pricing, and submit for review; every app is checked against the published App Review Guidelines for privacy, safety, performance, and design before it goes live.
- The standard pre-submission step is TestFlight: push the build to real testers first (external testing goes through its own quick review), catch crashes on actual devices, then promote the version that survived. Apple also periodically raises the minimum SDK, so builds must be compiled with a current Xcode/iOS SDK to be accepted.
- Expect rejections, they're routine, not failure. Common triggers are a missing privacy policy URL, incomplete App Privacy "nutrition label" details, or a demo login the reviewer can't get past; fixing and resubmitting is a normal part of shipping, and the same discipline carries over when you submit to Google Play.
From a founder's point of view
App review is a gate you don't fully control, so budget for it: build the listing assets and privacy answers early, and plan for at least one rejection round rather than promising a hard launch date to anyone. The reviewers aren't the enemy, most rejections are boring, fixable metadata or a broken test account, not a verdict on your product. Get through TestFlight with real devices before you submit, because a crash the reviewer hits can lead to rejection and delay your launch.
Rule of thumb
Submit at least two weeks before the day you actually need to be live. Review time plus one rejection is the realistic schedule.